The hero section is the first thing people see on your app’s homepage. AppView’s
<Hero> component is designed to convey the most
important information about your app straight away and give users a clear call
to action to download the app.
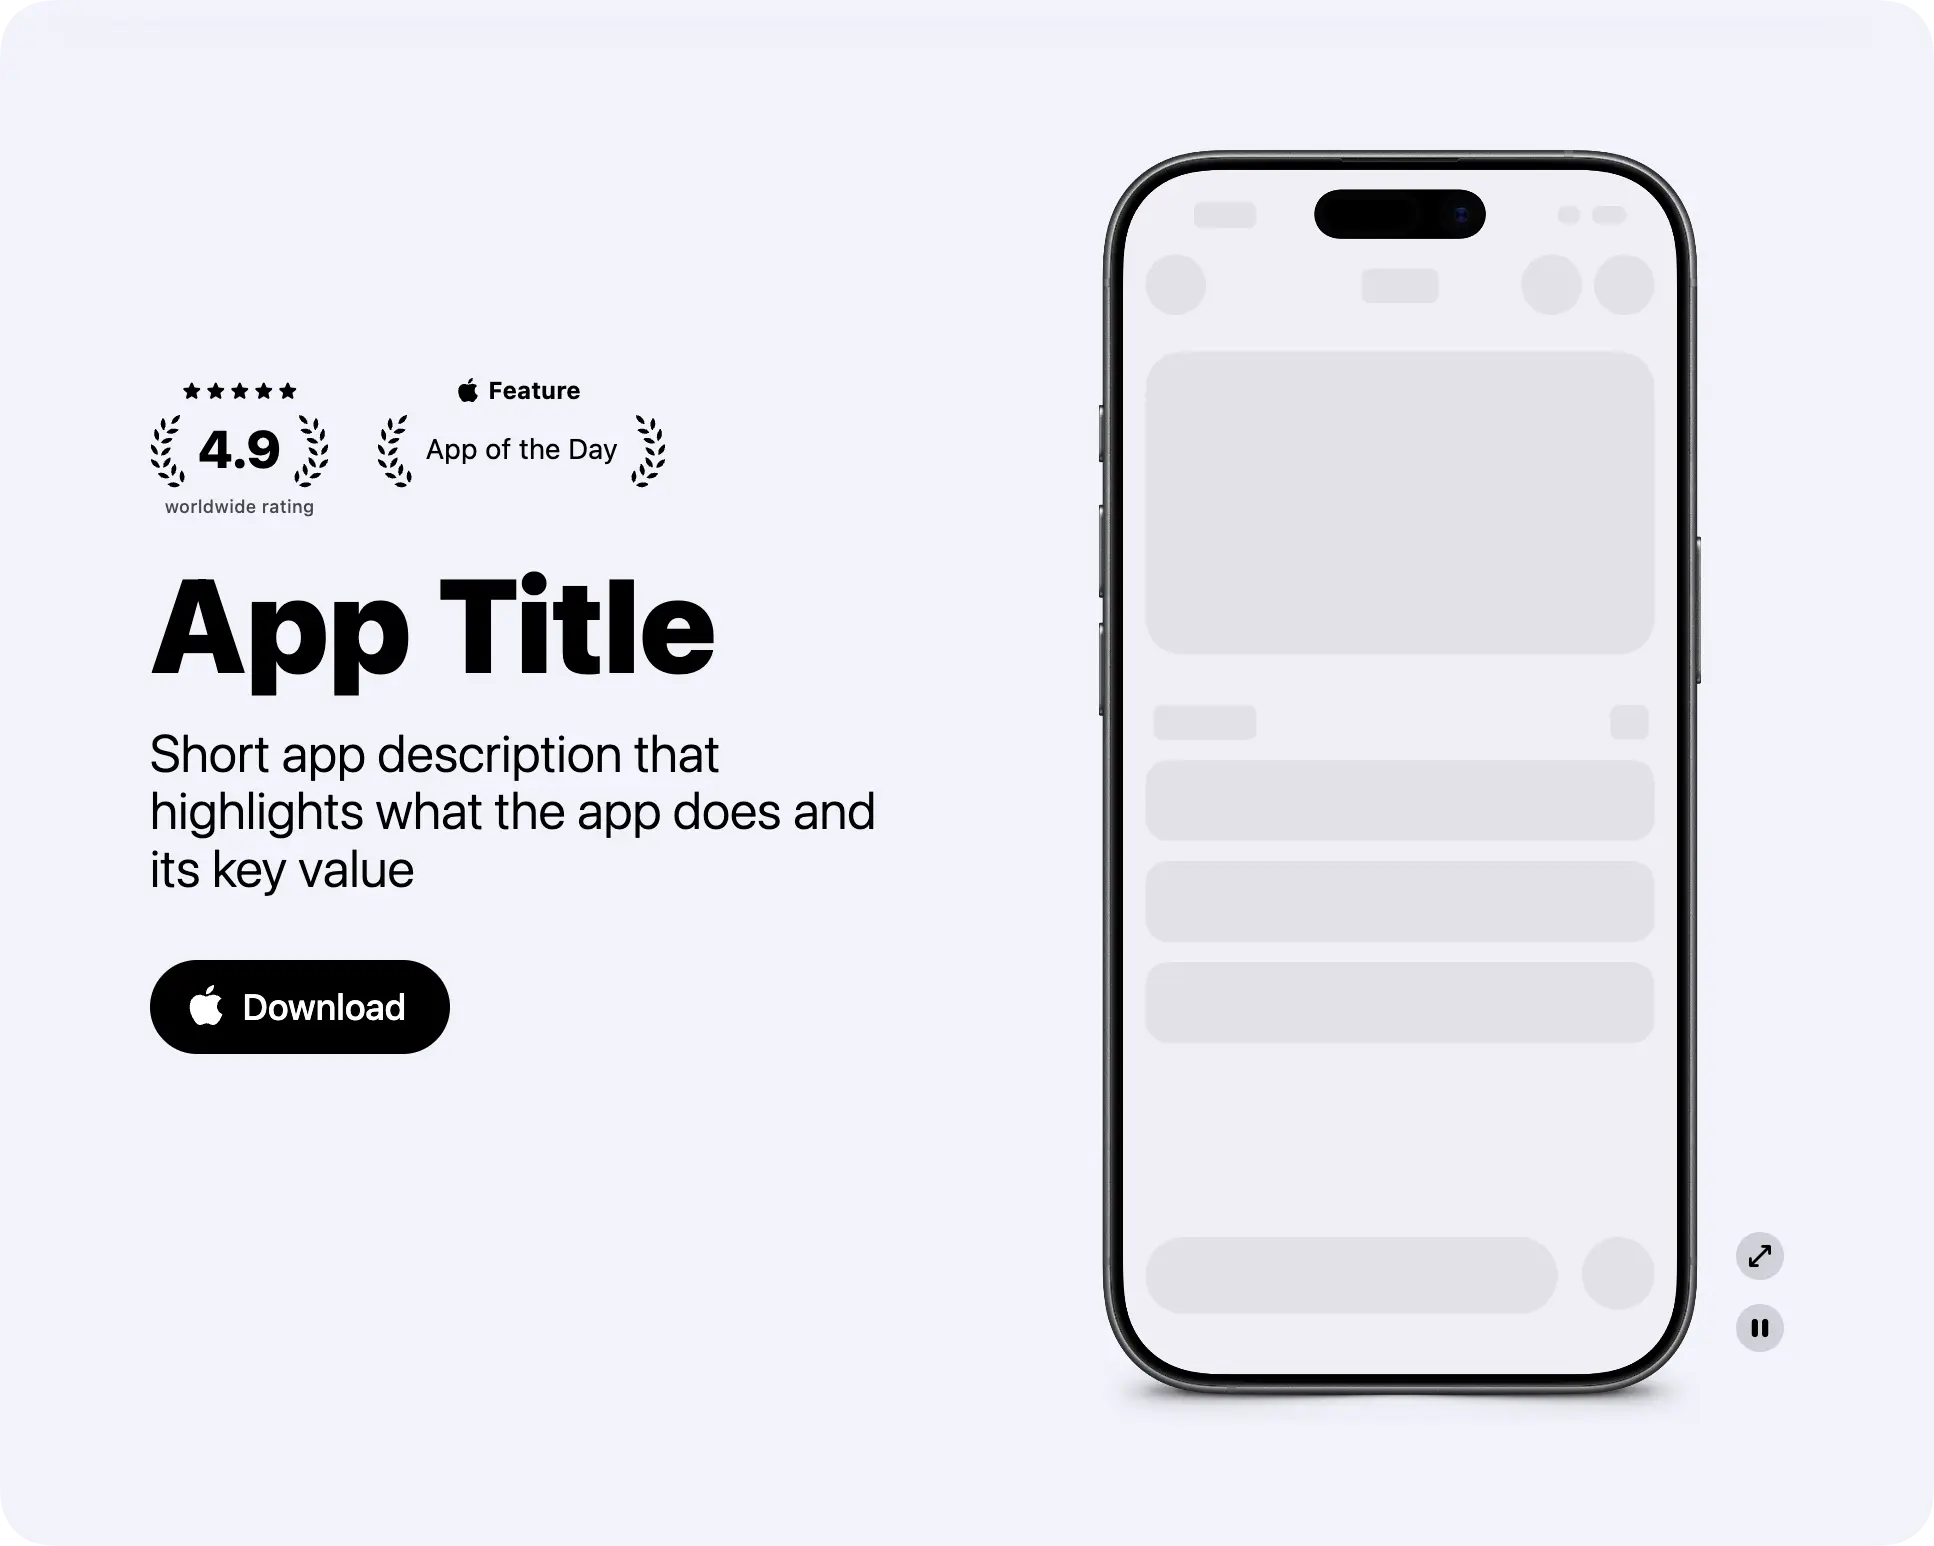
The component features your app as either a static screenshot or a screen recording wrapped in an iPhone bezel, plus a title, description, call to action, and optionally a few badges to show social proof.
Customizing the screenshot/screen recording
It’s recommended to have a screen recording in the hero section to show the app in action. But if the app isn’t polished enough yet and you’re, for example, want to open a waitlist, a static screenshot also works. Just make sure it shows the most appealing part of the UI.
The <Hero> component will automatically wrap both screenshots and screen
recordings in an iPhone bezel. You just need to specify which iPhone model and
color to use.
Here is the process:
Record your app on the Xcode Simulator or on a real device.
Put the recorded file into the public/ folder.
Open the app/(main)/page.tsx file and find the <Hero> component.
<Hero
  title="App Title"
  subtitle="Short app description ..."
  media={
    <Hero.Video
      src="/app_view/recording_placeholder.mov"
      alt=""
      bezel="iPhone 17 Black"
    />
  }
  ...
/>
Inside the media property you’ll find the <Hero.Video> component. If you’re
using a static screenshot, just change it to <Hero.Image>.
Change the src property of the <Hero.Video> or <Hero.Image> component to
point to the file you’ve put in the public/ folder. Make sure not to include
the public/ folder name in the path; it’s assumed by default, for example:
src = "/my_screen_recording.mov"; // For a file placed in public/my_screen_recording.movChange the bezel property to the iPhone model you’ve used to make the
recording. It’s important to use the same device for the bezel so that screen
dimensions match and there is no distortion. And you can freely choose the
color, of course. AppView supports these bezel values:
- iPhone 17 Black
- iPhone 17 White
- iPhone 17 Lavender
- iPhone 17 Sage
- iPhone 17 Mist Blue
- iPhone 17 Pro Cosmic Orange
- iPhone 17 Pro Deep Blue
- iPhone 17 Pro Silver
- iPhone Air Sky Blue
- iPhone Air Light Gold
- iPhone Air Cloud White
- iPhone Air Space Black
See also references for <Hero> component to learn about other customization options like using different media for light and dark modes.
Done ✅
Screen recordings that iOS produces usually have a large file size. It’s a good idea to convert them into a more web-friendly format like MP4 or WebM. Here is an example ffmpeg command to convert a MOV file into WebM:
ffmpeg -i input.mov -c:v libvpx-vp9 -crf 20 -b:v 0 -an output.webmAdding badges
Badges are displayed right above the title and are a great place to show some social proof.

For new apps, this might not be relevant yet, so feel free to remove or comment
the badges property altogether and move to the next section on this page.
There are three badge components to choose from:
<RatingLaurelsBadge>
To showcase your high App Store rating. For example:
<RatingLaurelsBadge showStars={true} rating={4.9} caption="worldwide rating" />
Customizing title and subtitle
The last step is to put your app’s info into the title and subtitle.
<Hero
  title="App Title"
  subtitle="Short app description ..."
  ...
/>
Make sure to keep them both concise and informative, and help users quickly understand the value of your app without marketing slogans like “Change your life” and similar.
Changing the main action
By default, the hero section shows the “Download” button that directs people to your app’s App Store page.
You won’t change this as part of this tutorial but it’s possible to customize the main action. For example, to show an email form to build a waitlist for your app’s launch. This is covered by the Waitlist page guide.
Next, you’ll build a bento-style grid to highlight key features of your app.